
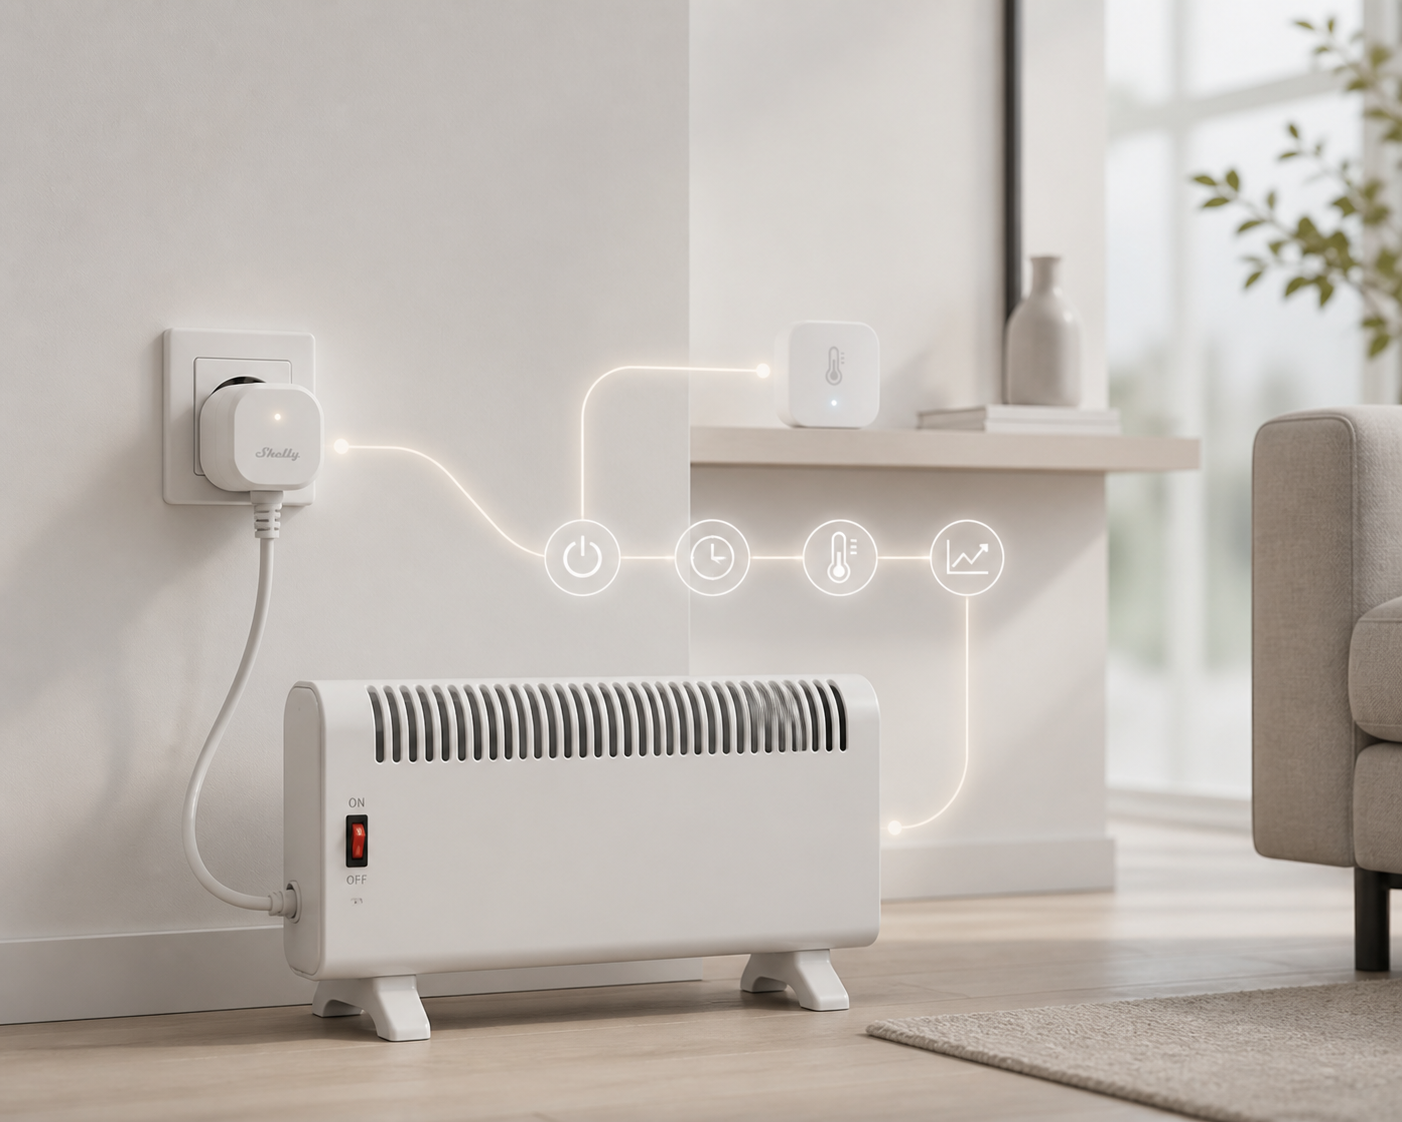
An old convector with just one on/off switch has no timer and no thermostat — the switch stays permanently on and the wall outlet becomes the only real control. Plugging in a Shelly Plug S adds scheduling, optional temperature-based control, and consumption monitoring, with nothing more than plugging it in.
Overview
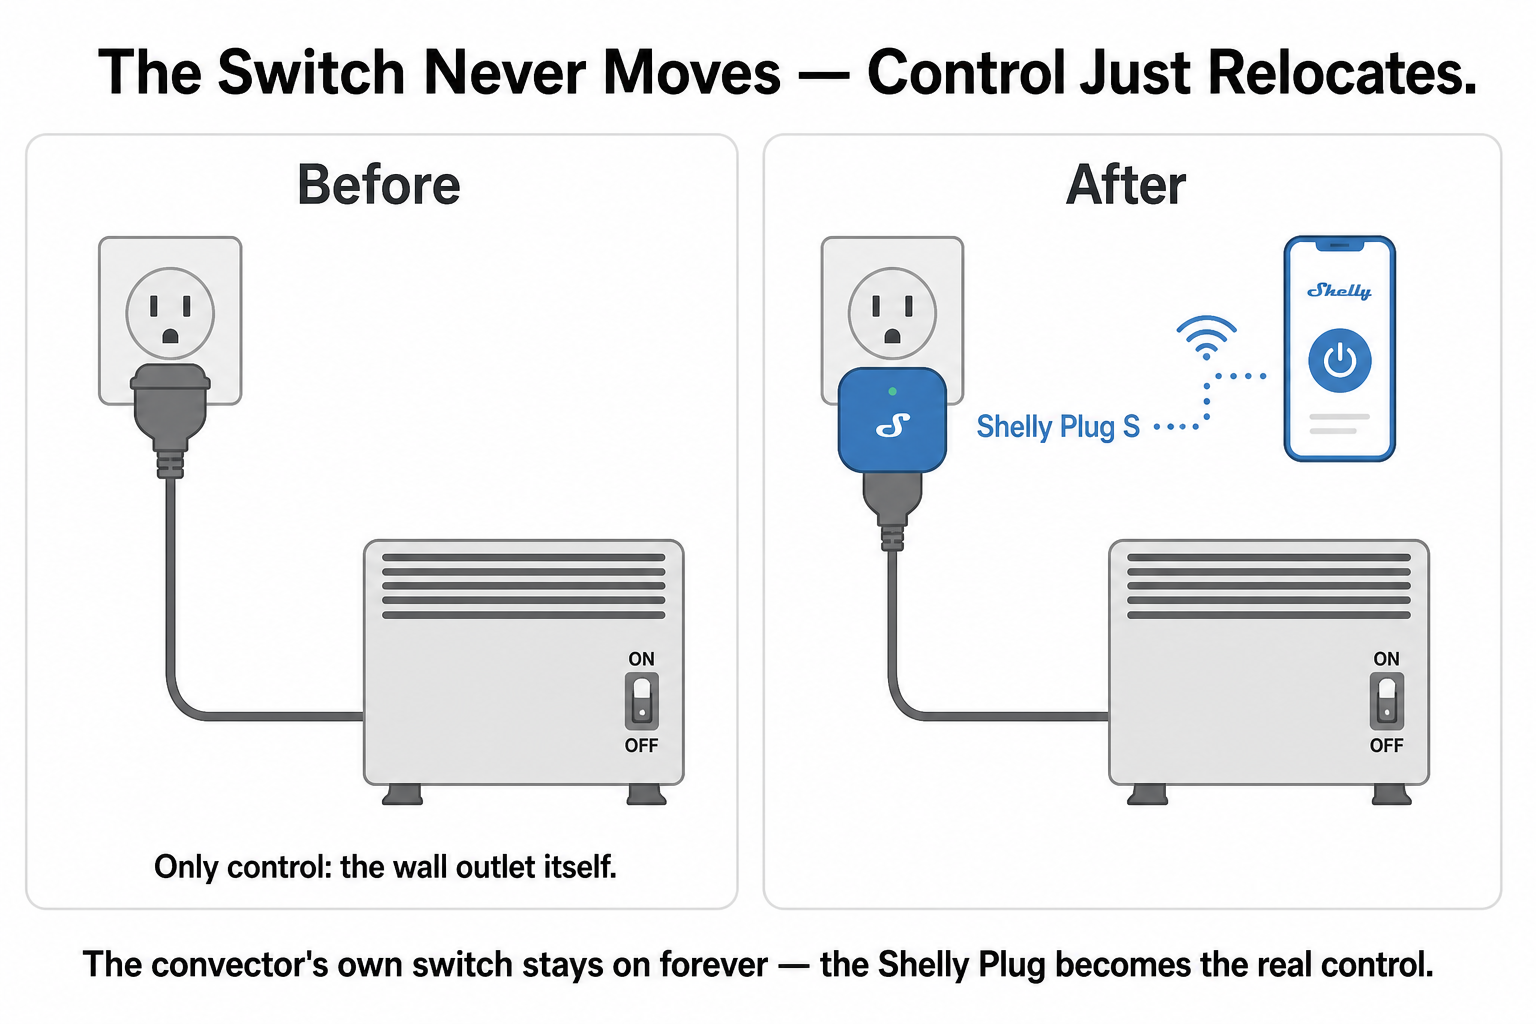
Many old convector heaters have just one switch — on/off, no timer, no thermostat. In practice, the switch stays permanently in the "on" position, and the only way to control the unit is through the wall outlet. By placing a Shelly Plug between the outlet and the convector, the switch stays permanently on while Shelly Plug takes over all control — no need to open the unit or touch the wiring.
Prerequisites
-
Shelly Plug S Gen3 (rated up to 2500 W / 12 A — check the convector's power rating on its label before plugging it in)
-
2.4GHz Wi-Fi network
-
Shelly Smart Control app
-
Optional: Shelly BLU H&T (Bluetooth temperature sensor) — only needed for temperature-based control, not just scheduling
-
If you use the BLU H&T: a Gen2+/Pro Shelly device nearby acting as its Bluetooth gateway — the Shelly Plug S Gen3 itself can do this (enable Bluetooth gateway in its settings)
Steps
-
Connect — plug Shelly Plug into the wall outlet, then plug the convector into Shelly Plug. Leave the convector's own switch permanently in the "on" position.
-
Add the device in the app — scan for the device, connect it to Wi-Fi, and name it (e.g. "Living Room Convector").
-
Manual test — turn it on/off from the app to confirm the connection works.
-
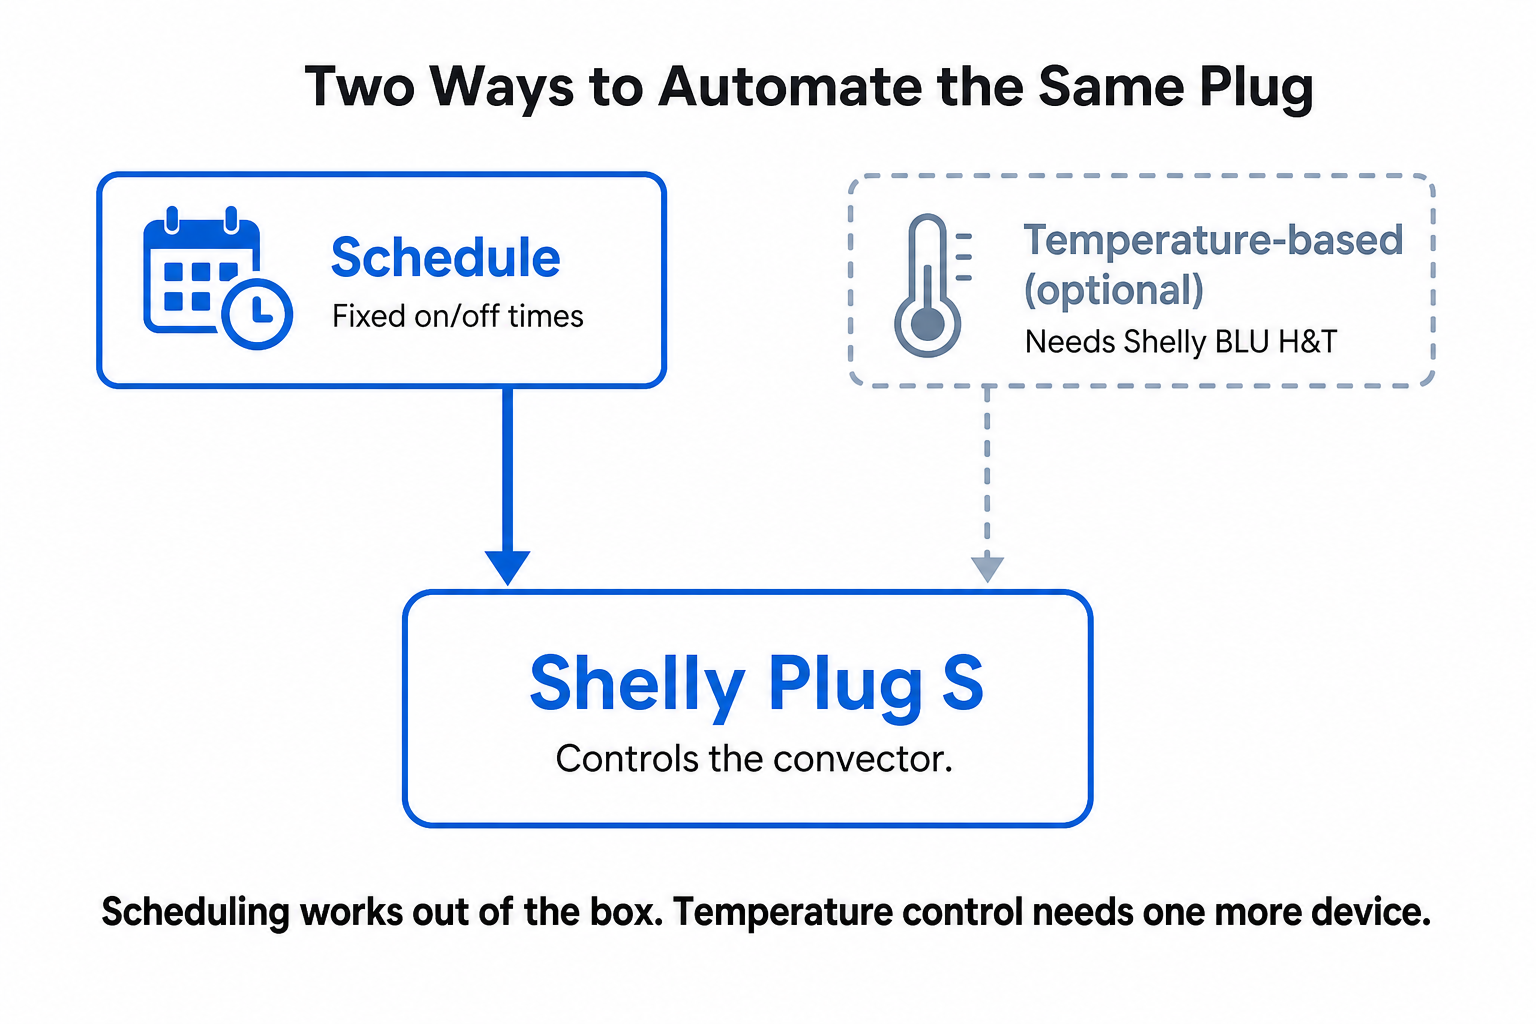
Schedule — set automatic on/off times (e.g. mornings before waking up, evenings before bed).
-
Temperature-based control (optional, with BLU H&T) — set up an automation like "turn on the convector below X°C, turn off above Y°C" — effectively giving the convector a thermostat it never had.
-
Monitoring — track real energy consumption in the app; a notification can flag unusually high power draw.
Troubleshooting
-
The plug doesn't show up in the app → check that the phone and plug are on a 2.4GHz Wi-Fi network (5GHz is not supported).
-
The plug turns on, but the convector doesn't heat → check that the convector's own switch is in the "on" position.
-
Temperature control doesn't react → check that Bluetooth gateway is enabled on the Plug S Gen3 and that the BLU H&T is within range.
Tips
-
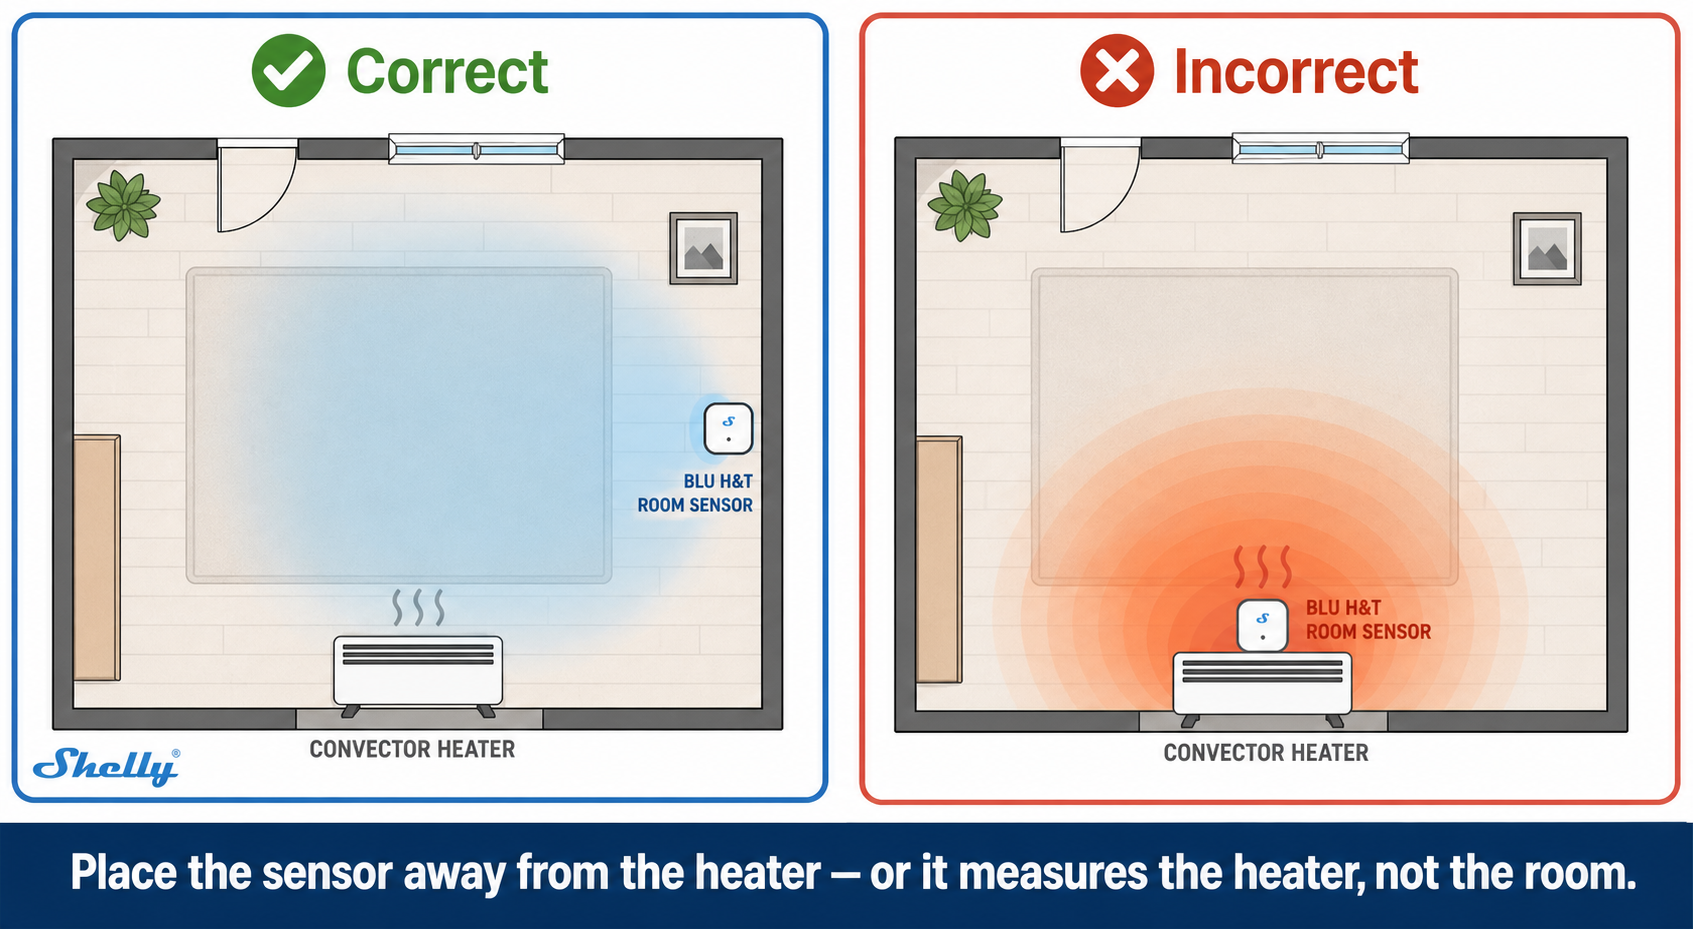
Place the BLU H&T sensor at normal room height, not right next to the convector — otherwise it will read the heater's own local heat instead of the room temperature.
-
Verify the first few automation cycles manually before relying on them fully.
-
Do not exceed Shelly Plug's rated load — for more powerful convectors (above 2500 W), a different solution is needed (e.g. a hardwired Shelly 1PM).
Devices Used
-
Shelly Plug S Gen3
-
Shelly BLU H&T (optional)
Documentation & References
Why It's Worth It
From a single on/off switch to scheduling, temperature-based control and consumption monitoring — with no installation, just plugging it in.
Conclusion
The old convector works exactly as before, but it now turns on and off on your schedule and, with the optional sensor, keeps the room at the temperature you set. Its energy use is visible in the app, so you always know what it costs to run.
---
vertical: general-home-safety
concept: old-convector-smart-control
complexity: intermediate
devices: [Shelly Plug S Gen3]
optional_devices: [Shelly BLU H&T]
---