Overview
Shelly devices provide a local web interface that allows you to control and configure your devices through a standard web browser on either your computer or mobile device. With it, you can turn appliances connected to your device on or off, set schedules, and configure actions to execute when certain conditions are met.
Note that you do not need an internet connection or Shelly Cloud to use the local web interface - the only requirement is that your browser must be in the same Wi-Fi network as your Shelly device.
Accessing the web interface
To access the web interface:
-
Connect your device to a Wi-Fi network with a name (SSID) that follows this format: "DeviceName-XXXXXXXXXX", where ‘DeviceName’ is the name of the device you’d like to connect to, while 'XXXXXXXXXX' represents a unique combination of letters and numbers, constituting the device ID.
-
After establishing a connection to the device’s Access Point / AP (the Wi-Fi network mentioned in step 1), accessing the web interface is done by entering the universal IP address for all Shelly devices 192.168.33.1 in your browser.
You are now in the web interface of your device.
Connecting your device to a Wi-Fi network
Some of the settings you’ll see in the web interface are only available if the device is connected to the internet. To do that, follow these steps:
-
From the Web interface, navigate to Settings>Wi-Fi.
-
Either input or select your preferred Wi-Fi network and then enter its password. Alternatively, connecting to an open network is also an option, facilitated by selecting the checkbox for connecting to open Wi-Fi networks. Additionally, it is recommended to set a static IP address.
-
Allow your device a few seconds, so it can try to connect to the Wi-Fi network you provided. If the password you typed in is incorrect, or the Wi-Fi network lacks sufficient strength or stability, a message will be displayed in the web interface, notifying you that a connection couldn’t be established. Upon successful connection to the Wi-Fi, a link, containing the new IP address will appear as text above the Wi-Fi settings. Simply copy and paste this link into your browser.
You are now in the web interface of your internet-connected device. The next time you need to access the web UI, simply connect to the same Wi-Fi network as your device and type in the new IP address, obtained in step 3. Setting a static IP address is recommended because it guarantees consistent accessibility at that specific address.
Understanding the layout
The web interface can be divided into four main sections - the header, footer, main menu, and main content.
Header
The header consists of two components - the name of your device on the left and a few icons, which display your device’s main network and connectivity features on the right. These icons can encompass functionalities such as Wi-Fi, Bluetooth, MQTT, and more, as well as an icon that shows if there are any new firmware updates for your device. Hovering with your mouse on an icon will provide you with further information. You’ll find a legend with the meaning of each icon in the web interface guide of each device. Please note that the individual guides explain only the connectivity features available for that specific device.
Footer
At the bottom of the screen from left to right in order are the device model name, its ID, the version of the web interface, the firmware version of the device, and finally, the current time. If the time is not synced, you will receive a notification at the top of the screen, and some schedules and actions may not work as expected. Some previous versions of the web interface do not include all of these components.
Main menu
The main menu in the desktop version of the web interface is on the left, whereas on mobile, it looks like a hamburger menu with an icon of three horizontal lines, stacked on top of each other. The menu contains different items, depending on the device, but clicking an item from it takes you to a different page. You can also use it to get back to the Home page by clicking Home.
Main content
By clicking on an item from the main menu, you’ll be able to navigate through the web interface. Everything that you see on the screen, excluding the header, footer, and main menu is considered main content.
As the user interface might change over time, some screenshots might differ slightly from what you see in the web interface of the product.
Main Menu
Below are explanations of each setting in the main menu, including what is visualised as main content upon clicking on the different settings. A brief introduction of the icons in the header, specific to this device, is also present in the Home page explanation. Note that the header is present in all of the screens, not just the Home page.
Home page
In the web interface, you will see five icons in the header, including one for AP, Wi-Fi, Bluetooth, Cloud, and MQTT connection. Here is what the different status colors mean:
AP icon :Gray: AP mode is disabled.Blue: AP mode is enabled.Wi-Fi icon :Gray: Wi-Fi connection is disabled.White: Wi-Fi connection is enabled, but not established.Blue: The device is connected to Wi-Fi.Bluetooth icon :Gray: Connection is disabled.Blue: Connection is enabled.Cloud icon :Gray: Connection to Shelly Cloud is disabled.White: Connection to Shelly Cloud is enabled, but not established.Blue: The device is connected to Shelly Cloud.MQTT icon :Gray: MQTT is disabled.Blue: MQTT is enabled.Firmware update icon:Blue: There is a new stable version of the firmware for your device.Doesn’t appear: The device’s firmware is up to date. Websocket connection icon:Blue: Websocket connected.Grey: Websocket is not connected. Battery iconDisplays battery status through 4 state icons, relating to a percentage (100% to 0%). Charging iconAppears when an external power source (such as a USB) is connected to a battery-powered device.
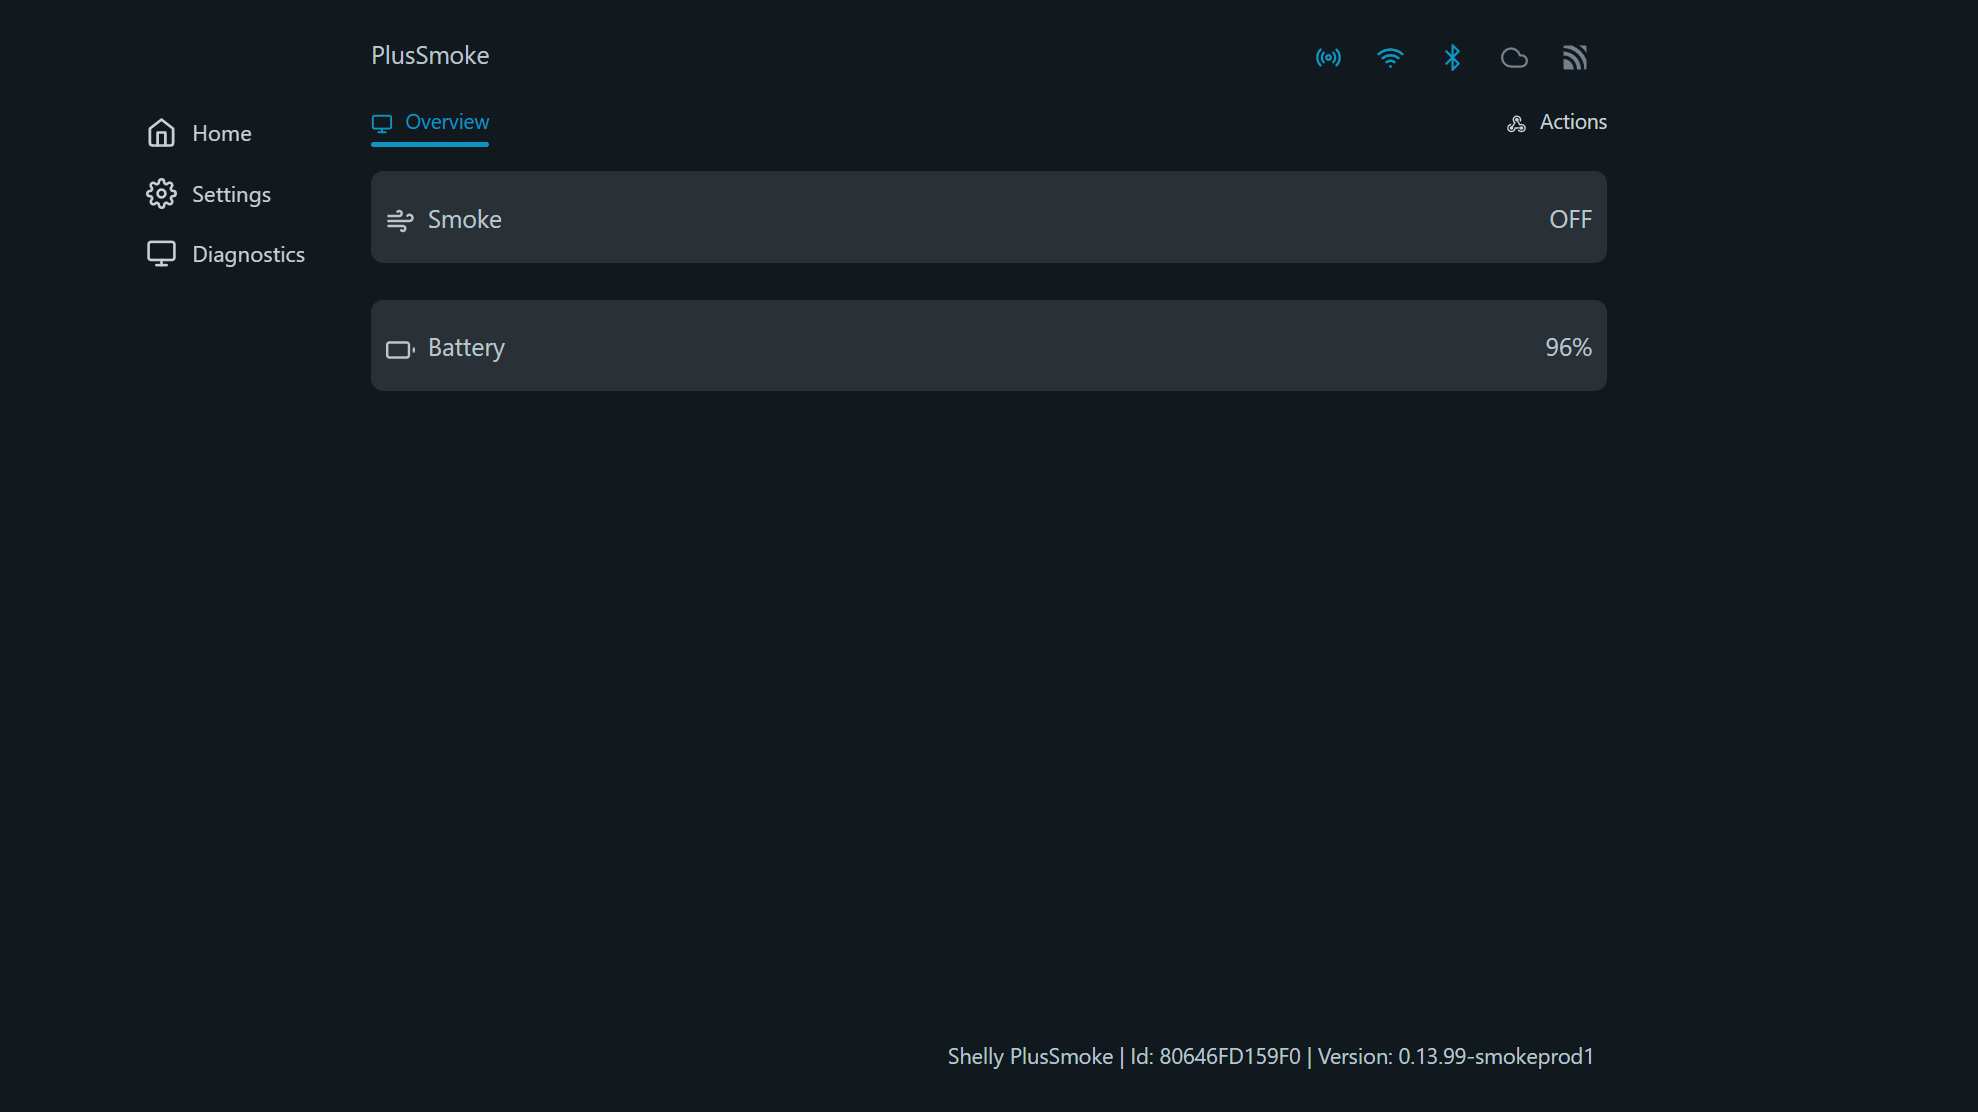
This page will also display the state of the smoke sensor (whether smoke has been detected or not), which can be either ON (smoke has been detected) or OFF (smoke hasn’t been detected). Underneath, the battery percentage of your Shelly Plus Smoke can tell you when the device is running low on power.
Settings
Network settings
-
Access point and Range Extender - Configure the device's access point (AP) by selecting the Enable access point checkbox and setting a password to secure your network from unauthorized access. The access point of the device is an open network by default. The SSID is unique and cannot be changed. Enable the Range extender feature by ticking the checkbox. The Range Extender creates a hotspot that you can connect Wi-Fi devices to. If a Shelly device with the range extender enabled is connected to a Wi-Fi router and the Internet, all devices connected to it are also connected to the router and the Internet.
Even if the Shelly device is not connected to a Wi-Fi router, all devices connected to it can still communicate with it and with each other. Underneath is information about the AP clients connected - how many, as well as their IP configuration, MAC address, and internal and external IP addresses. -
Wi-Fi - Register the Shelly device to connect to up to 2 different Wi-Fi networks.
Either input (through writing in the text field) or select the Wi-Fi network by clicking on the chevron (arrow) icon to browse through all available networks. Can select an open network, and also set a static IP address.
Enable Wi-Fi 1, or Wi-Fi 2, or both at the same time (by using the toggle next to each one). If both Wi-Fi 1 and Wi-Fi 2 are enabled, and the Shelly device disconnects from one of the networks, it will connect to the other. It is possible to enable Wi-Fi only once the network name (SSID) is set. If the device has no other connections available (AP, Bluetooth, Ethernet (if it applies), or a second Wi-Fi network), trying to disable the Wi-Fi will cause a pop-up asking you if you wish to continue.
-
Bluetooth - Disable/enable Bluetooth by toggling the switch. The device's default Bluetooth setting is enabled.
Connectivity
Note for RPC communication: When an RPC call fails to be executed, a banner message appears - it notifies you that the device is not responding in time, and has lost connection. When the connection is restored, the request will be sent again.
-
Cloud -Connecting your Shelly to its cloud allows you to control it remotely, and receive notifications and updates about your devices. The default for this setting is for the cloud to be enabled. If you disable the device cloud support, you will lose connection to your device from outside its local network!
-
MQTT - Configure the Shelly device to execute actions via MQTT. By default, MQTT is disabled, but you can enable it by selecting the empty checkbox. Changing these settings will cause the device to reboot. There are some other settings, such as RPC status notifications over MQTT (which enables you to communicate with your device through RPC notifications) and Generic status update over MQTT (to get an overall status update), which you can enable or disable. You can also enable SSL and type in your server, username, and password, but be aware that enabling SSL will hurt the battery life and most likely shorten it by half.
-
Outbound Websocket - Specifies whether the HTTP channel creates an I/O exception when an inbound connection is closed while still in use by the servlet. By default, this setting is disabled. To enable it, click the toggle switch next to Enable. Enter your service address in the text box and from the drop-down menu under SSL Connectivity choose *, ca.pem or user_ca.pem.
Device settings
-
Device name (info) - See your device’s ID, the Wi-Fi it’s connected to, and the Wi-Fi RSSI.
-
Location and time - Your timezone and location will be autodetected, but you can manually change them from this setting by choosing a timezone from the drop-down menu and typing in your latitude and longitude. There is also a button Auto detect location, which will make the device automatically detect the location once again if it failed the previous time.
-
Authentication - If you enable authentication, you will be asked to type in a password, which you will then use to access the Web UI of the device. Once enabled, to disable it, click the toggle and enter your authentication pass once prompted.
-
Firmware - In this setting, you can see your device's ID, Firmware version, and build ID, as well as the Web build ID. You can also see the available new versions, check for updates and easily update your device. There is also an option to upload your own firmware, however flashing devices with custom firmware irreversibly voids the device warranty.
-
User Certificate (TLS Configuration) - Upload custom certificate authority, client certificate, and client key by dragging and dropping the file(s), or by browsing your files, which you can do by clicking the designated button. Click Upload to upload the files, and Clear to remove files you don’t want to upload.
-
Debug - This setting includes Mqtt, Websocket, and Udp debug. To enable any of these, click the toggle switch next to the specific setting. For Udp debug you will also be asked to type in a udp address.
Advanced Settings
Upon clicking on the arrow next to this setting, you will reveal the advanced settings. They are explained below.
KVS
KVS stands for Key-Value Storage and is a type of non-relational database, which works by using a simple key-value method to store data. In one device, you can store up to 50 key-value pairs. Upon clicking on the Add value button, you will be taken to the value creation screen, which prompts you to enter a key (up to 42 characters), and value (up to 253 characters). You’ll notice under the text box for the value is the current value type. By default, the value type is Number, but by entering text, the type will change to String. To save the key, simply click the Save button. To edit an existing value, simply click on it. To delete a key-value pair, click the Delete button that appears below it when you go to edit the key. Clicking on the question mark next to the setting name will take you to the API documentation, which will provide you with further information on how the KVS works for Shelly devices.
Diagnostics
From this setting, you can download the debug logs. Enabling the debug log without a reason isn’t recommended, since your device will be slowed down and this setting will cause aging of the flash memory. If you do decide to enable it, you can also download the previous and current logs. Be aware that leaving this page will reset the logger and log data.
HTTP ping
Enter a URL in the designated text field to send an HTTP request to it from your device. The web interface will then let you know if the request was successful or failed.