Solution - Residual Current Device - Fault Notifications with Shelly
Overview
This article outlines the step by step process of setting up a notification system, achieved with a Shelly device, designed to inform you whenever a power supply is disrupted by a tripped Residual Current Device (RCD). The flow of the setup is as follows:
When the RCD is in the ON position, power flows normally through the circuit.
If a fault occurs, the RCD will trip to the OFF position, cutting off the power.
The Shelly device will detect this change in state (input OFF) and trigger the scene you created.
A notification will then be sent to your phone, alerting you that the RCD has tripped and there might be an issue that needs your attention.
Prerequisites
Residual Current Device (RCD)
Any Shelly Device from Gen2 and above which has physical input and switch component. For this example we are going to use Shelly i4 Gen3
Shelly cloud account and the device already added to it (here is quick guide on how to add your device into Shelly Smart Control app - https://support.shelly.cloud/en/support/solutions/articles/103000279888-update-device-and-include-it-manually-to-shelly-smart-control )
The Shelly Smart Control App (available for iOS and Android) or Web browser because the Scene is going to be set for cloud enabled devices only.
Step-by-Step Instructions
Check the RCD device is properly set and operating.
Involve professional technician if required to do the checkup. The wiring needs to be done as on the scheme below.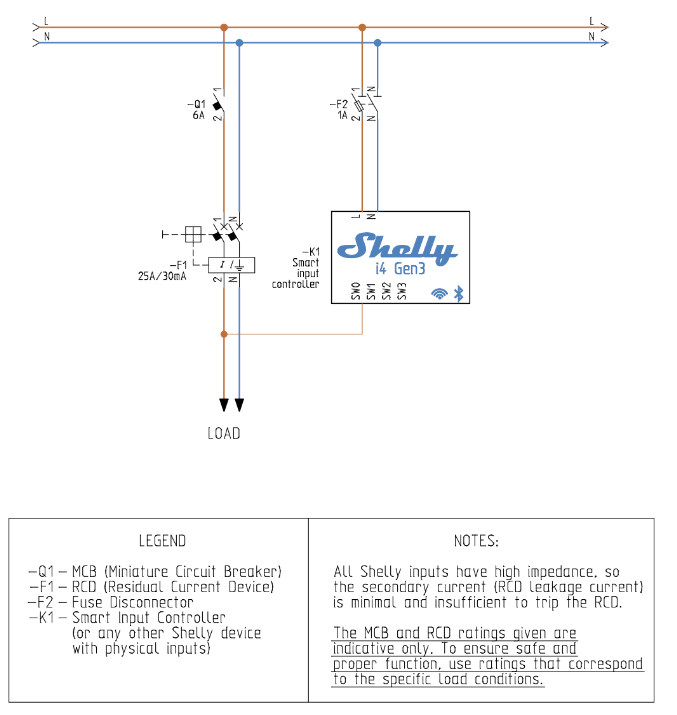
Create the scene and configure it to send notifications.
Once the wiring is done, you can configure the Shelly device to send notifications. Follow these steps below. This example will be from web browser but the steps form the mobile app are same. Make sure that the input to which L is connected (coming from RCD to i4 physical input) is in Switch state
Open the Shelly Control app or the web browser for your Shelly account and locate the device.
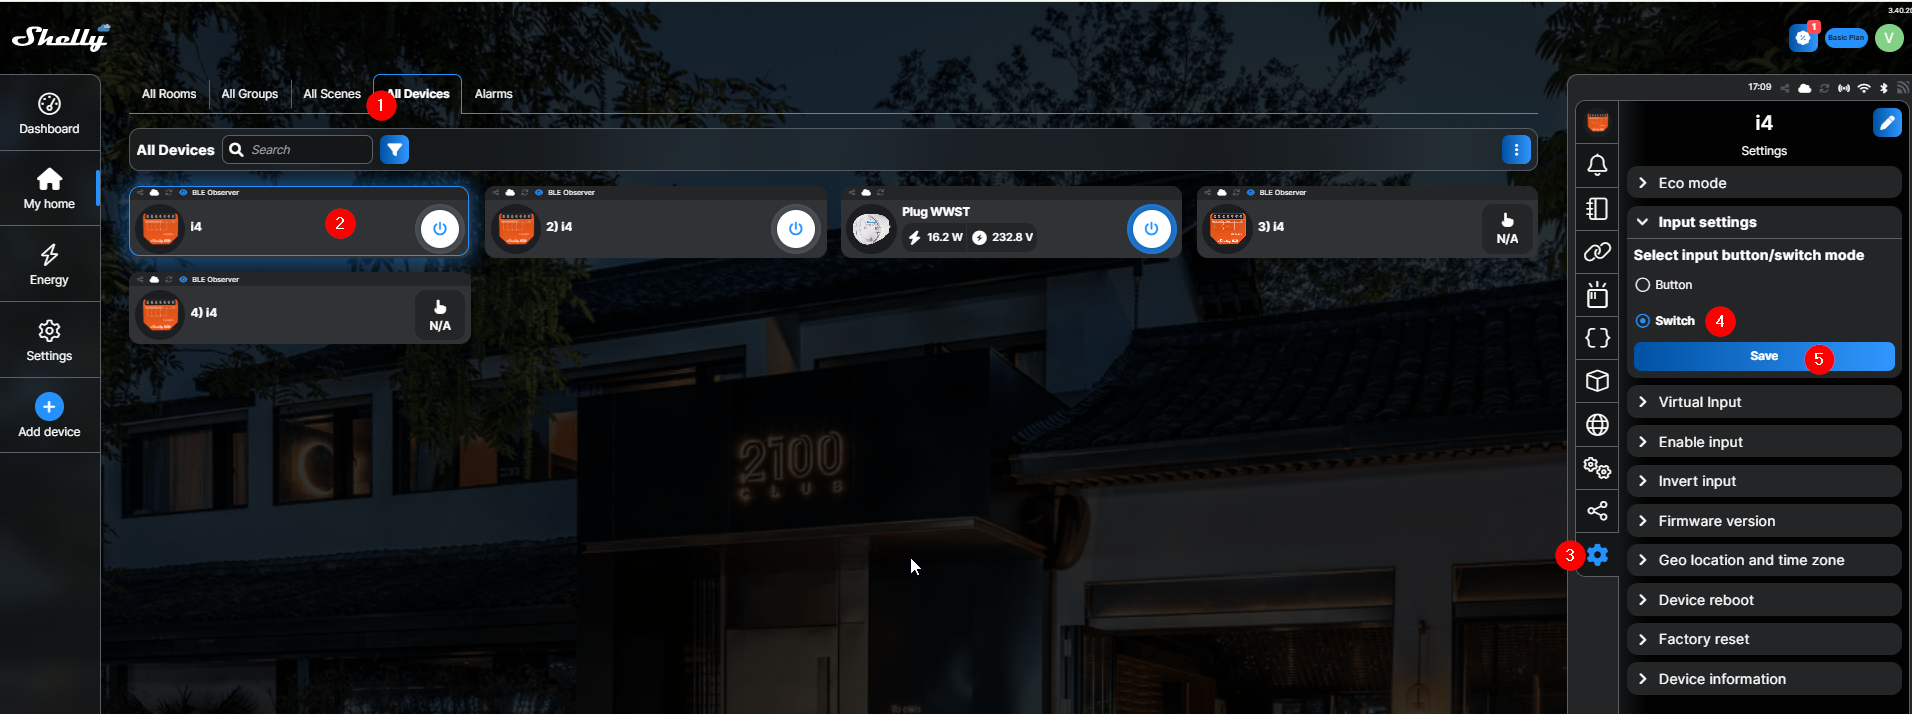
Go to All Devices and select the Device/entity you are going to use, then Settings > Input Settings > Select Switch > click save
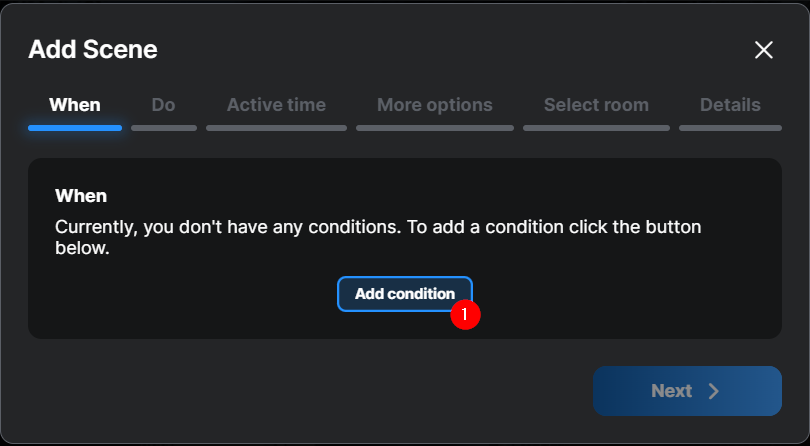
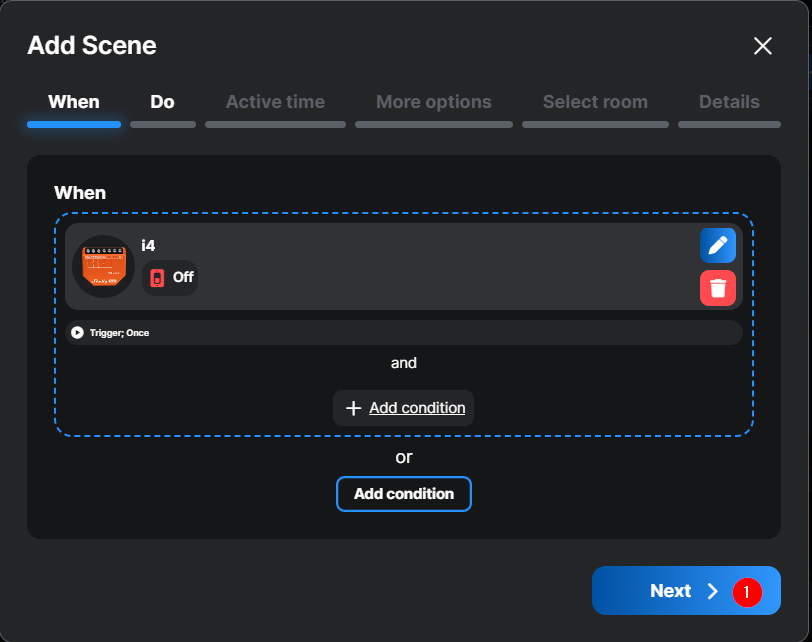
Go to All Scenes and them add Scene

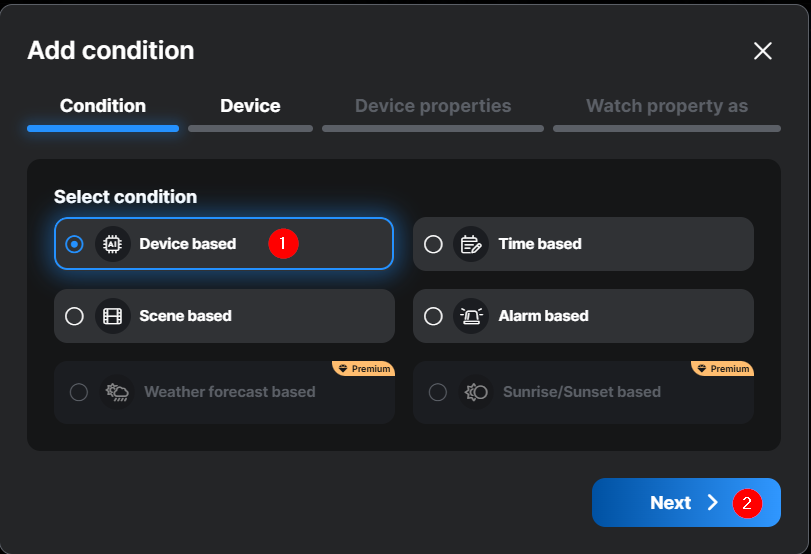
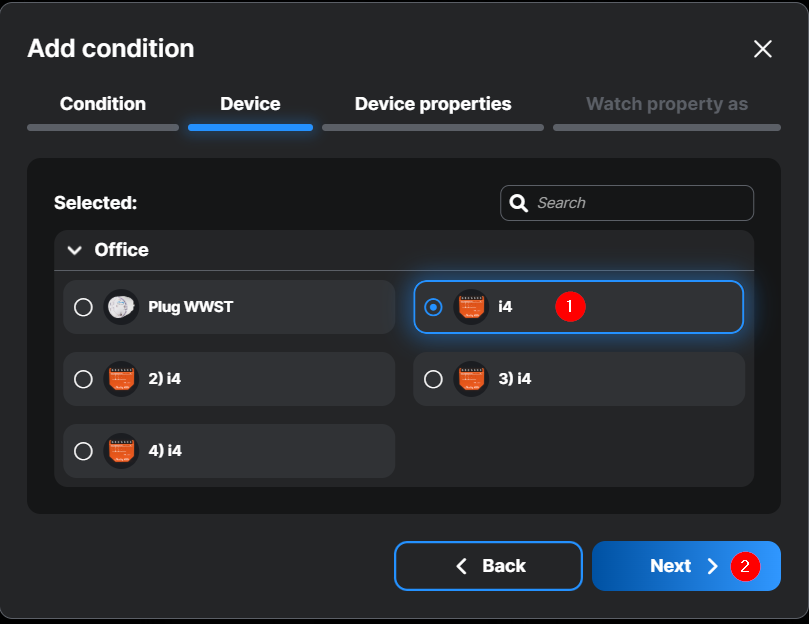
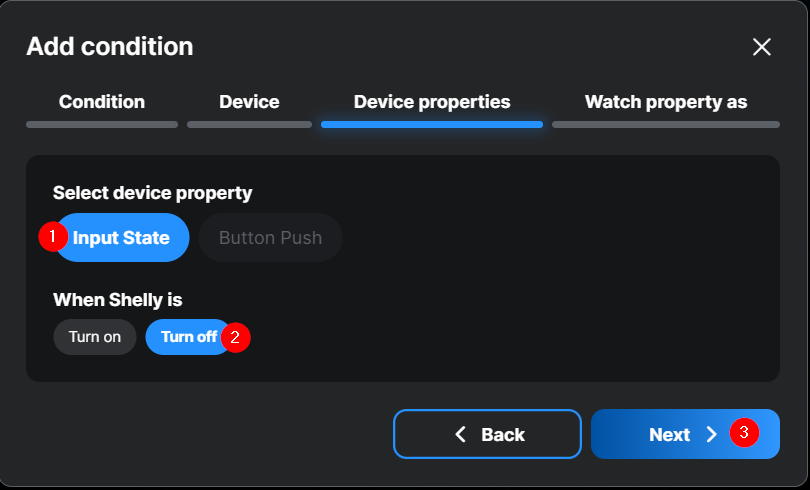
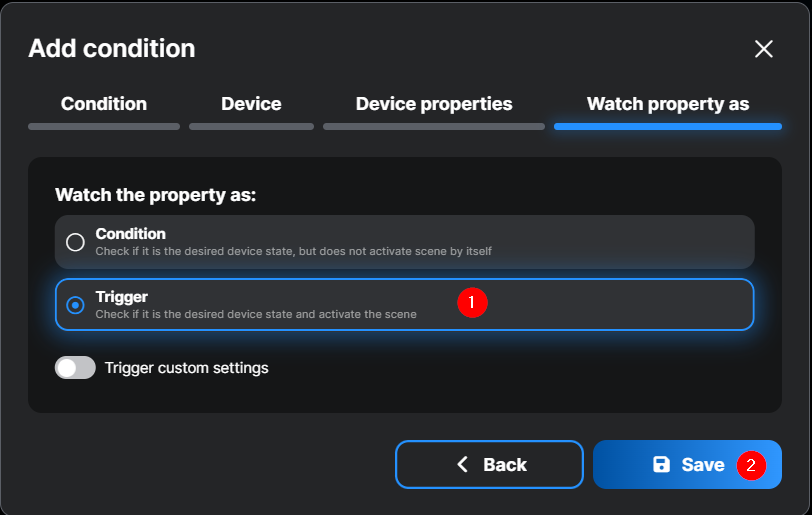
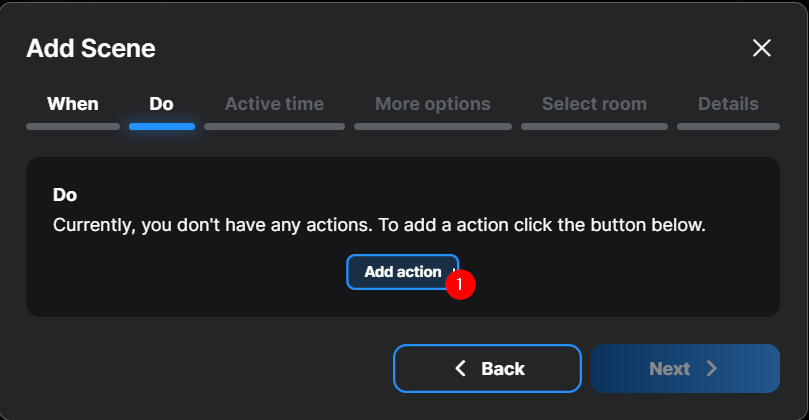
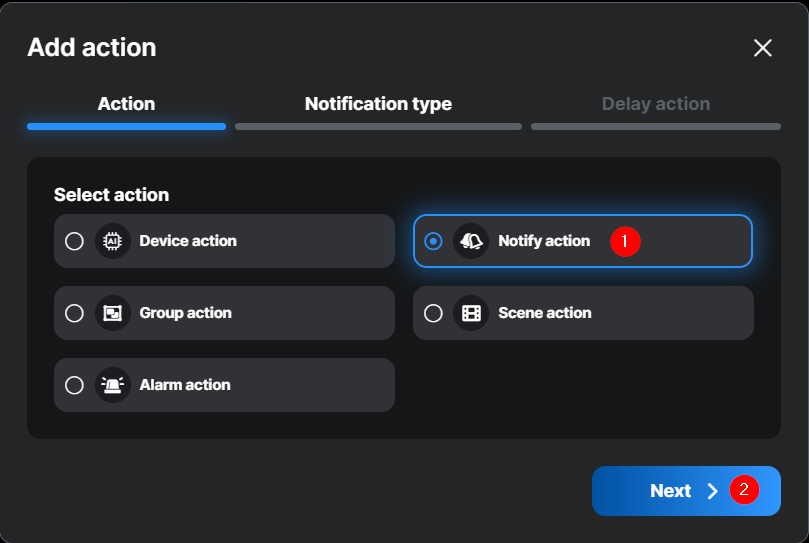
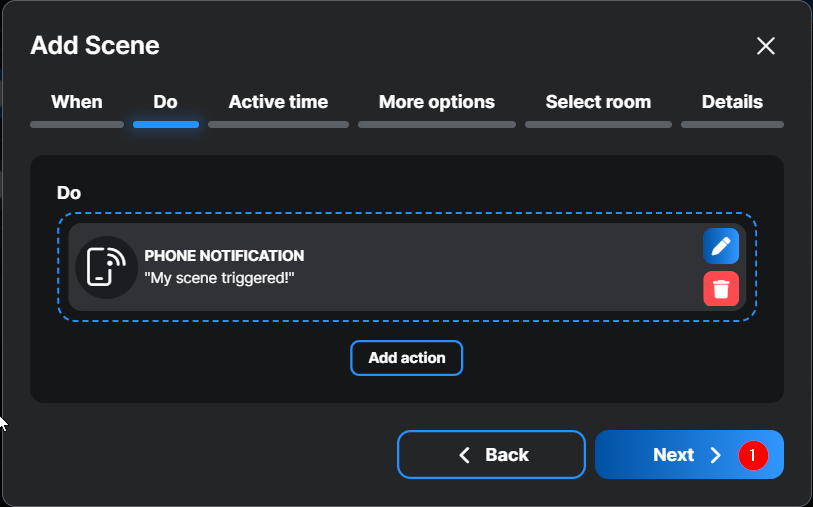
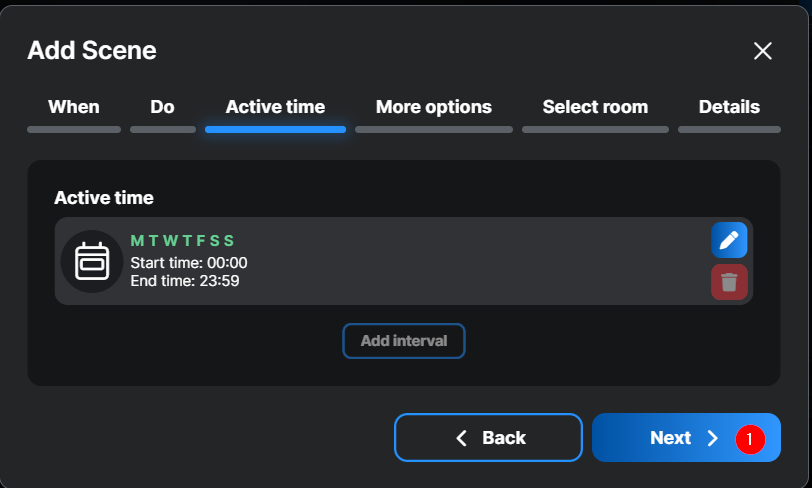
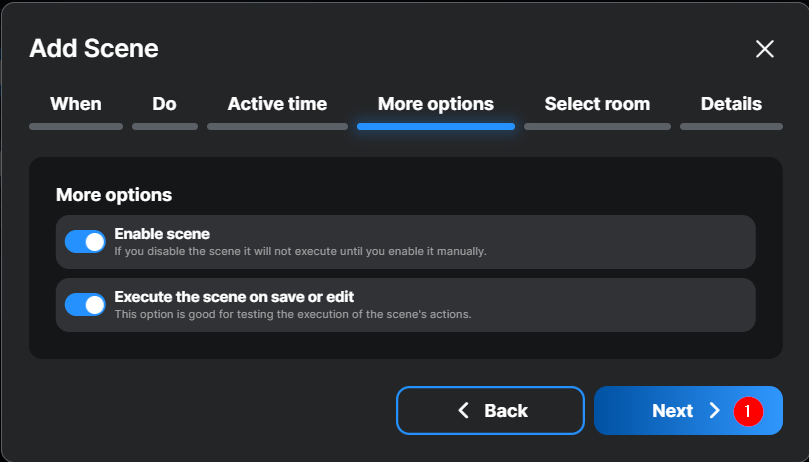
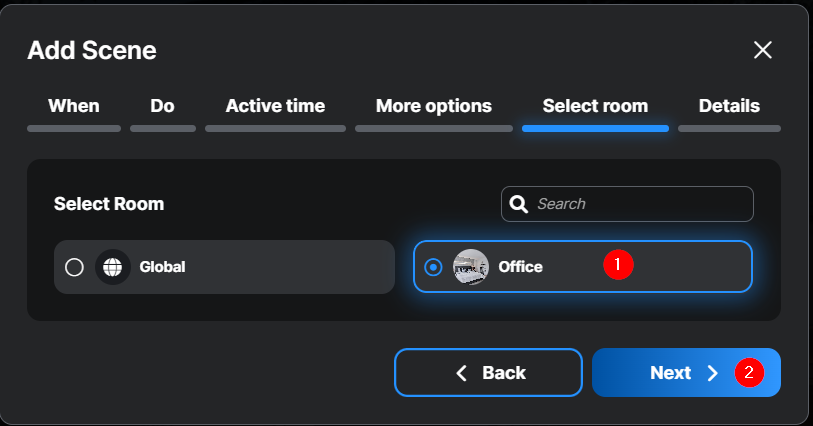
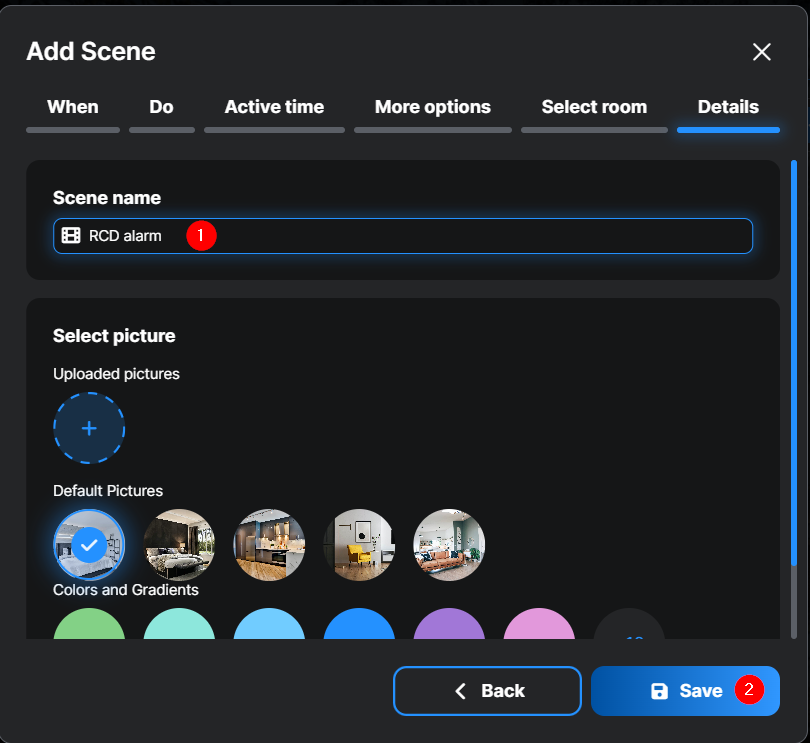
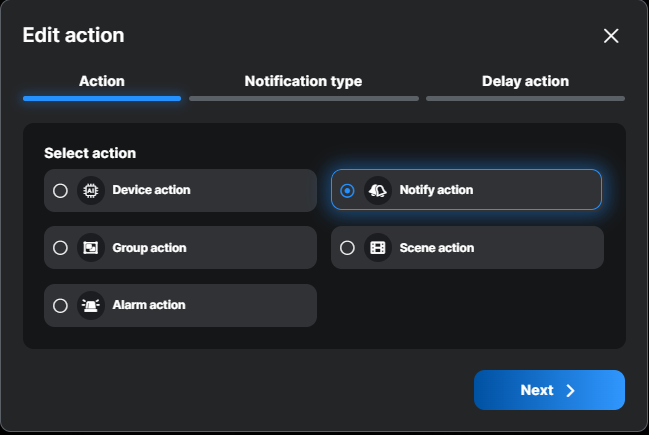
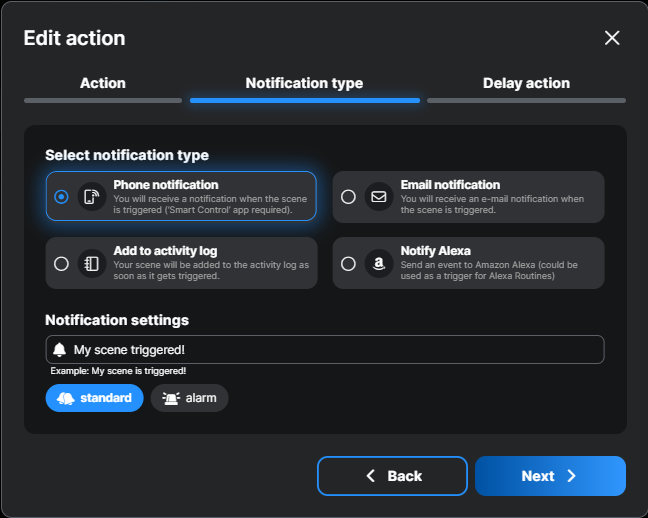
Follow the steps as shown on the screenshots below in order to configure the scene to send notifications
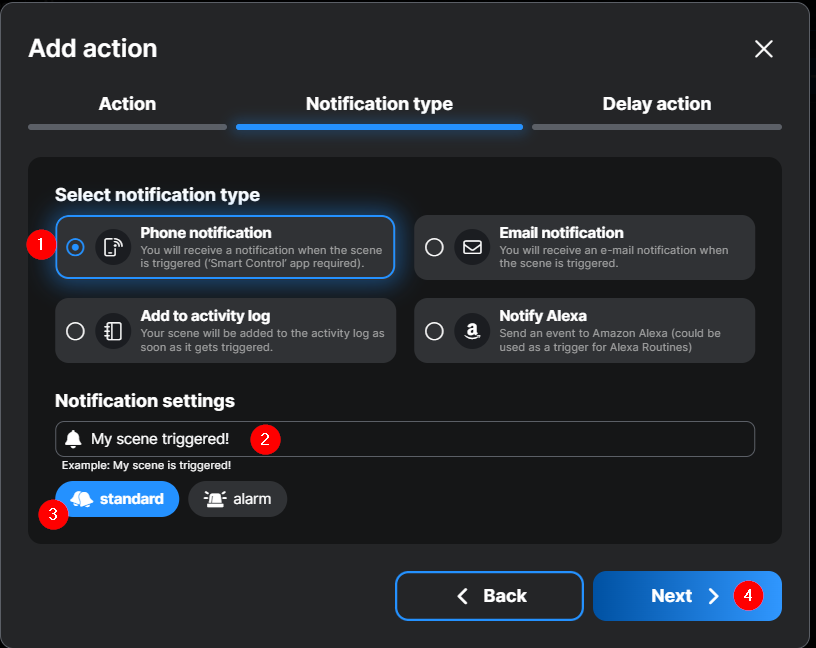
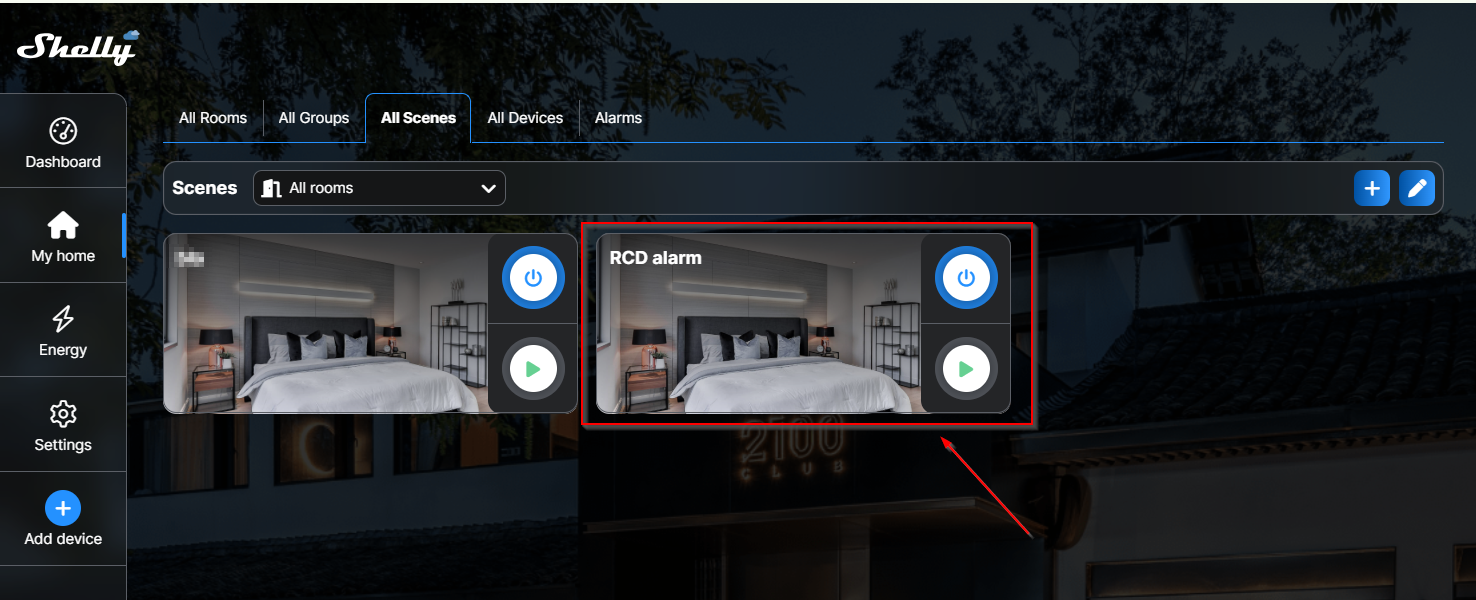
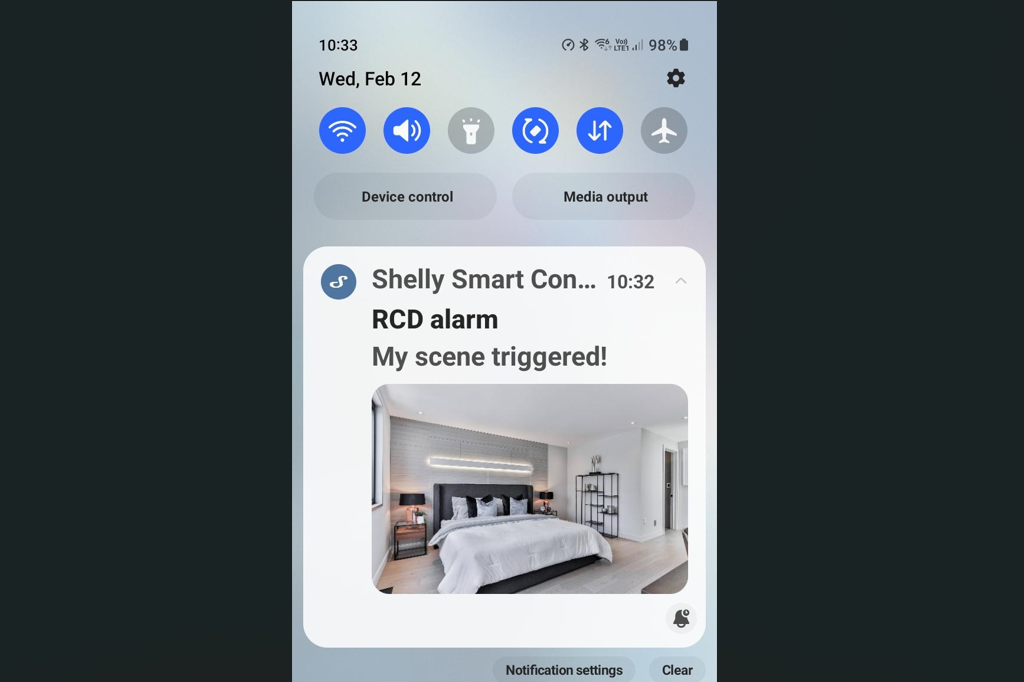
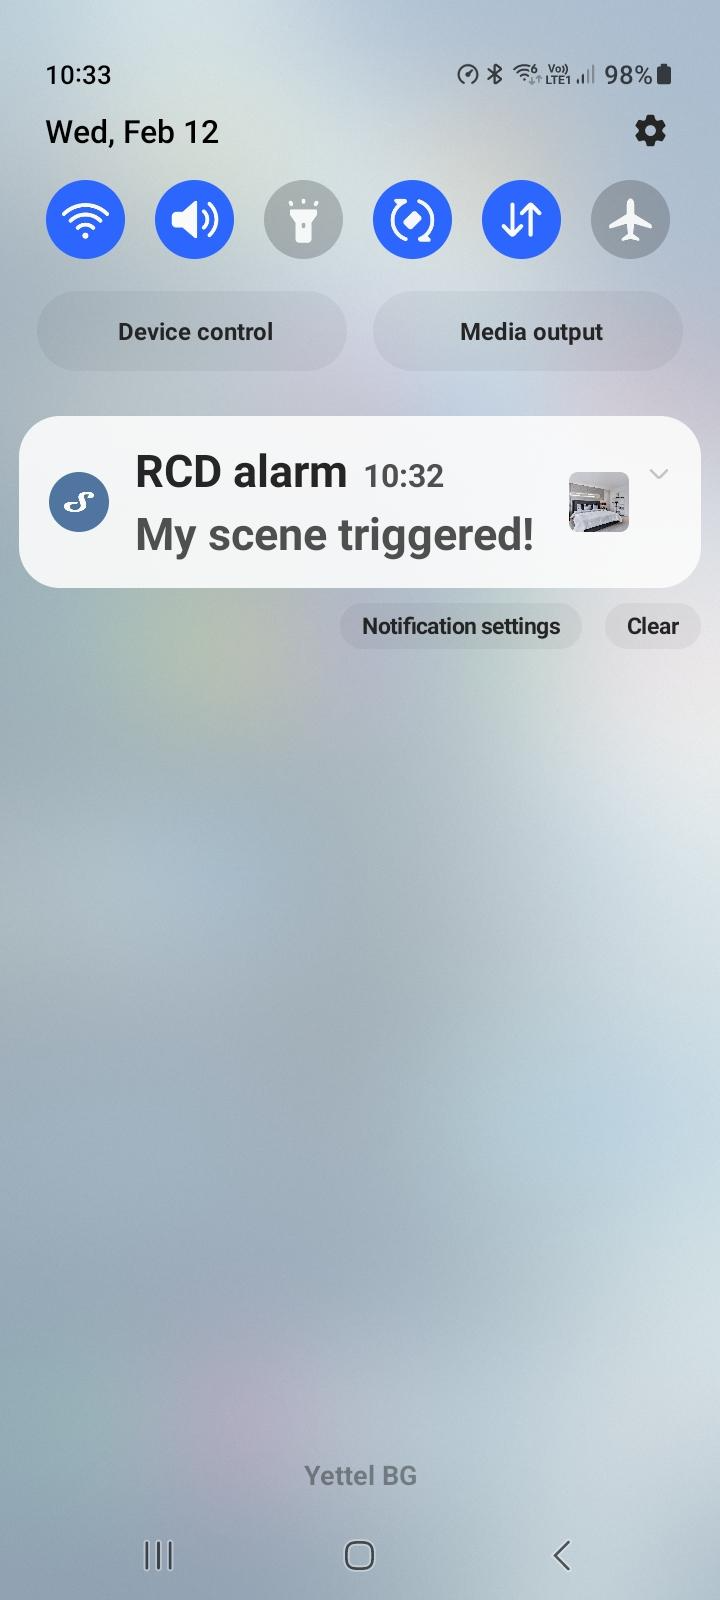
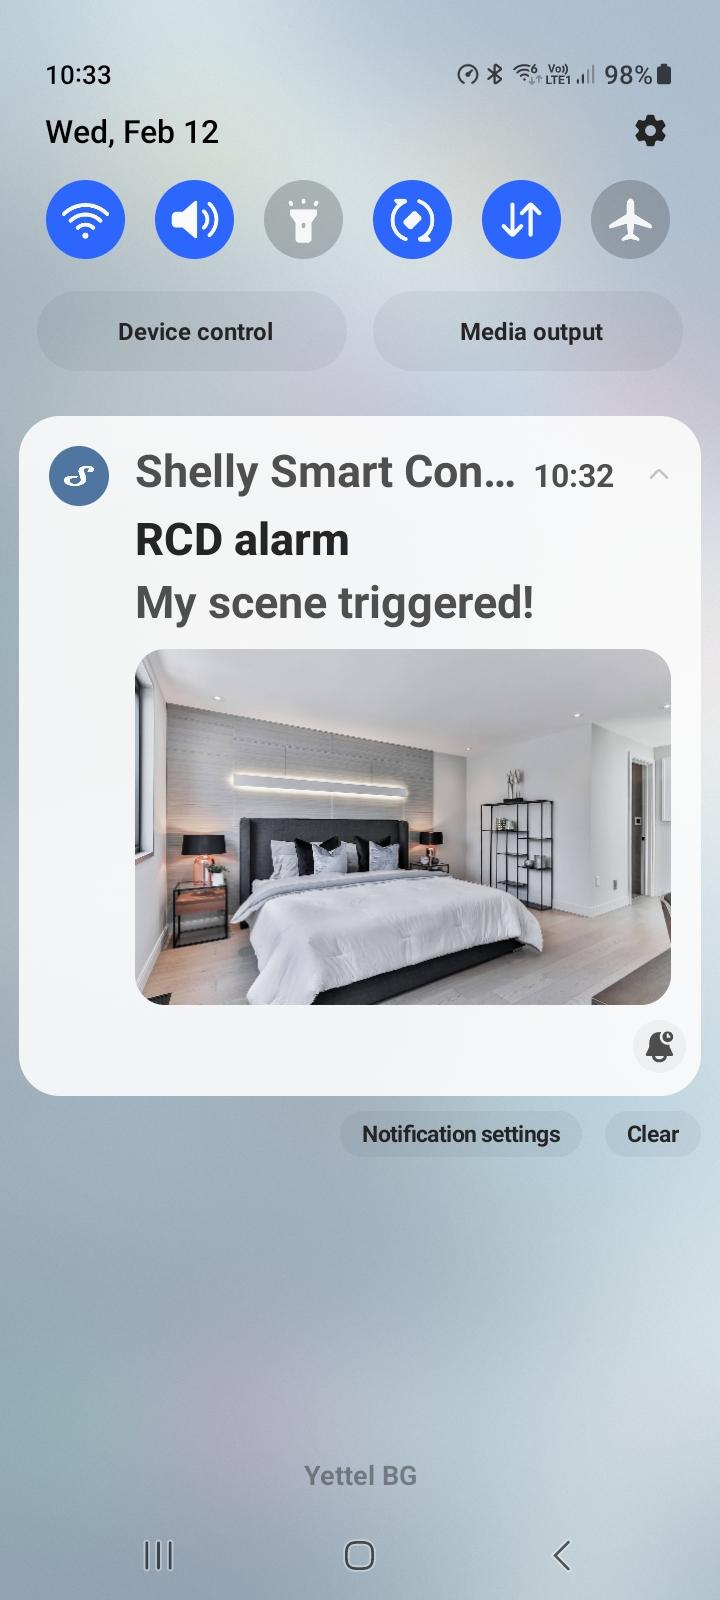
With all that done your Scene will be active and set. Once the fault occurs, the configured notification will be sent. In this example the notification is sent to Phone and will looks like this:
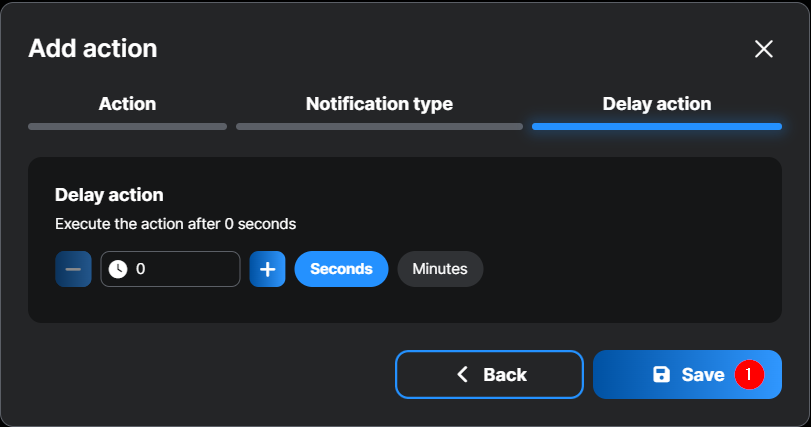
However you can configure different type of actions or notification depending on your choice and needs, you can even add delay if needed. For the different variations refer to the screenshots below:

We Value Your Feedback!
Thank you for taking the time to read our article! Was it helpful or interesting?
Your insights can help us improve. We’d be grateful for any feedback. If you have a moment,
please share it with us at the following email: