Shelly Smart Control inclusion process
ShellyBLU Button1 allows you to execute actions and scenes by sending signals to selected Bluetooth-enabled devices. To make this work, you need your Shelly Plus or Pro devices to act as gateways for your button. Here is how to set it up:
-
Step 1: Make sure Bluetooth is enabled on your phone, and the Shelly Smart Control app has permission to use it.
-
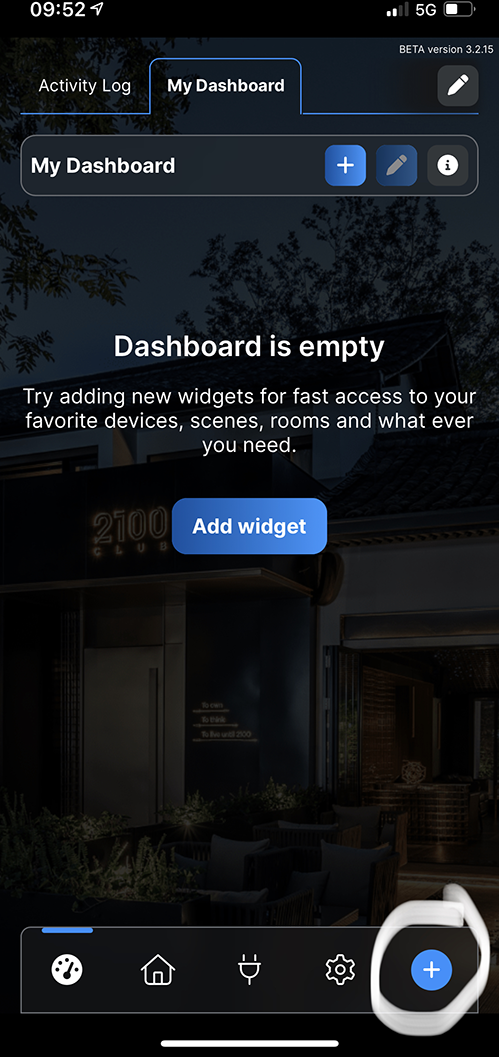
Step 2: On the Shelly Smart Control app home screen, tap the
+icon at the bottom right corner, then Add a new device.
-
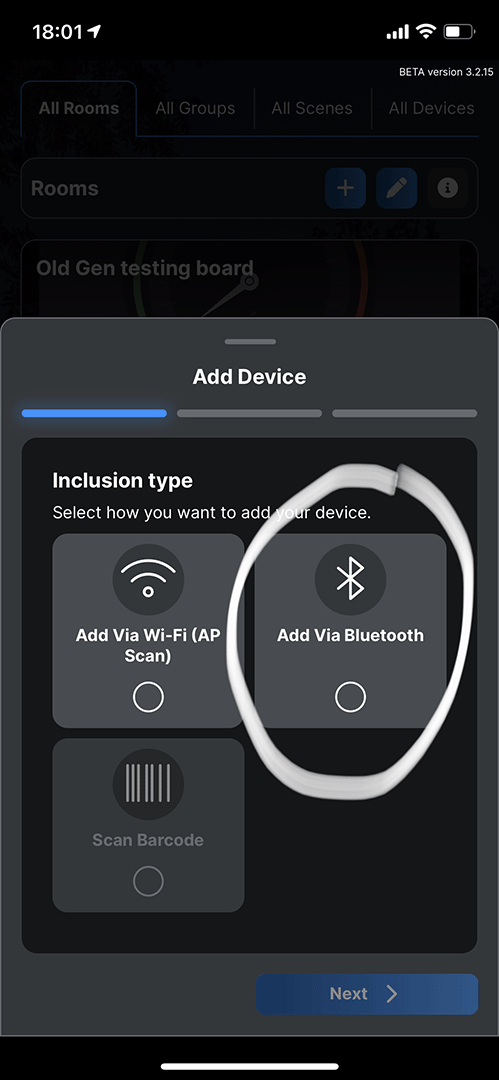
Step 3: Choose Add via Bluetooth
-
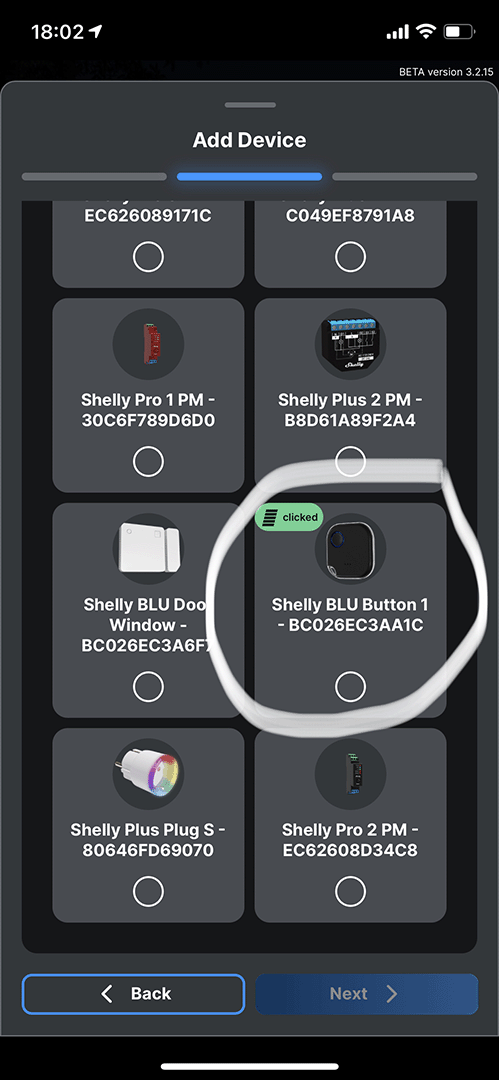
Step 4: Click your ShellyBLU Button1 once, and it will show up in the list of devices. If you have more than one ShellyBLU Button1 showing for inclusion, click your ShellyBLU Button1 again, and the app will help you identify the correct one.
-
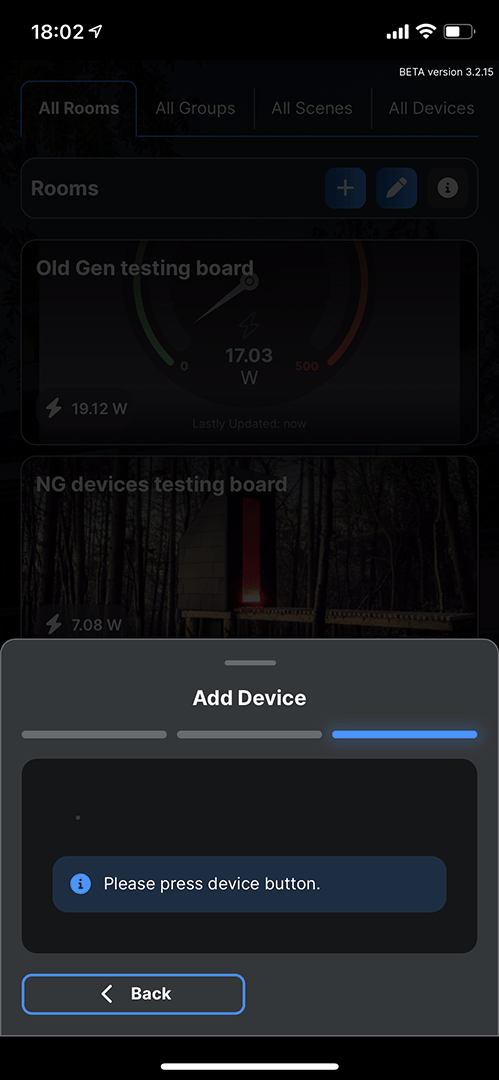
Step 5: Follow the on-screen instructions. The app will prompt you to press your button once.
-
Step 7: Give your device a name and choose or upload an image.

-
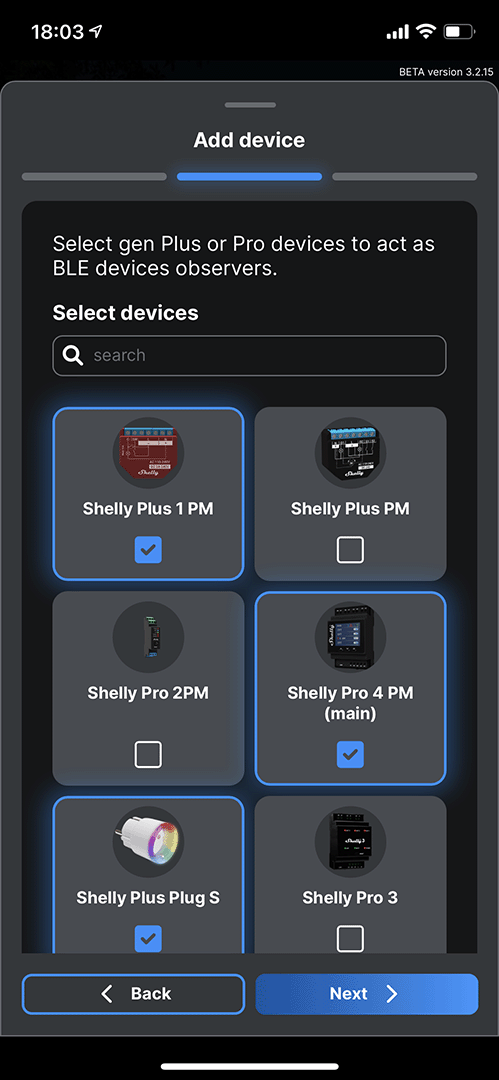
Step 8: Select Plus or Pro devices to act as BLE gateways. A list of all your compatible devices will show up. They will pick up the signal from the button when you use it and act as a gateway between ShellyBLU Button1 and Shelly Smart Control. If you don’t see some of your Plus or Pro devices here, you might have to manually enable the Bluetooth gateway. To do this, go to each Plus or Pro device in the app, click the
🌐icon, then select Bluetooth and mark the Enable Bluetooth and Enable Bluetooth gateway boxes. We recommend having at least one BLE gateway in every room.
-
Step 9: Include the button in an existing room, then save the changes. Your button is now successfully added to the app and can be found in its designated room.
Create a scene with ShellyBLU Button1
-
Tap the
🏠icon in the bottom menu, then All scenes at the top of your screen. Press the+icon.
-
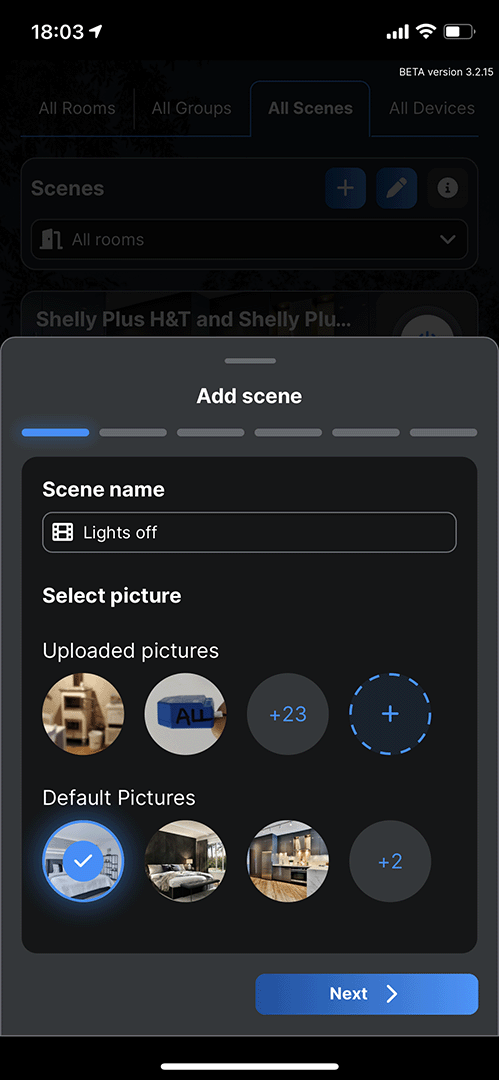
Enter a name and select or upload an image for your scene, and choose the room where you want it to be located.
-
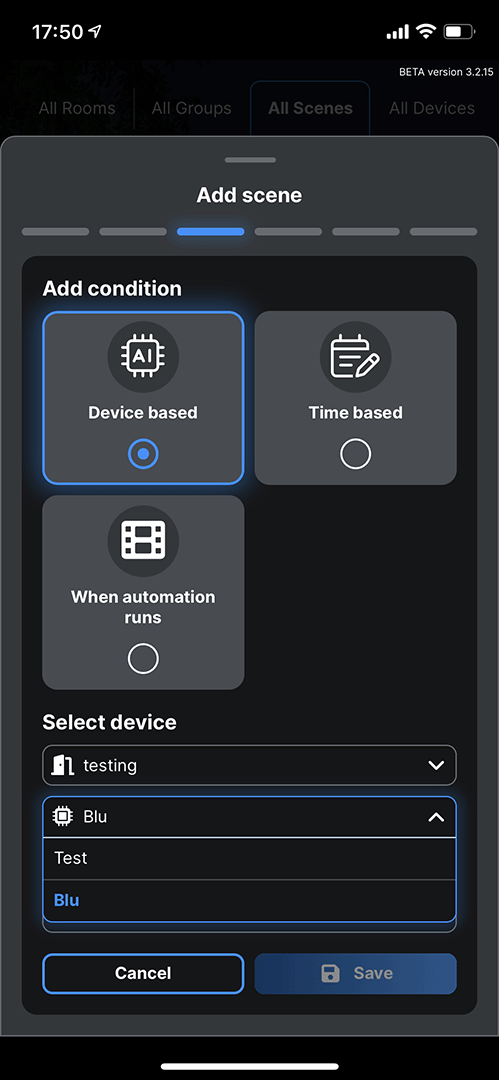
Select Device based condition, select the room where the device is located, and the device itself.
-
Select Button push as the device property. Here, you can set up separate scenes for each button push (single push, double push, triple push, and long push).
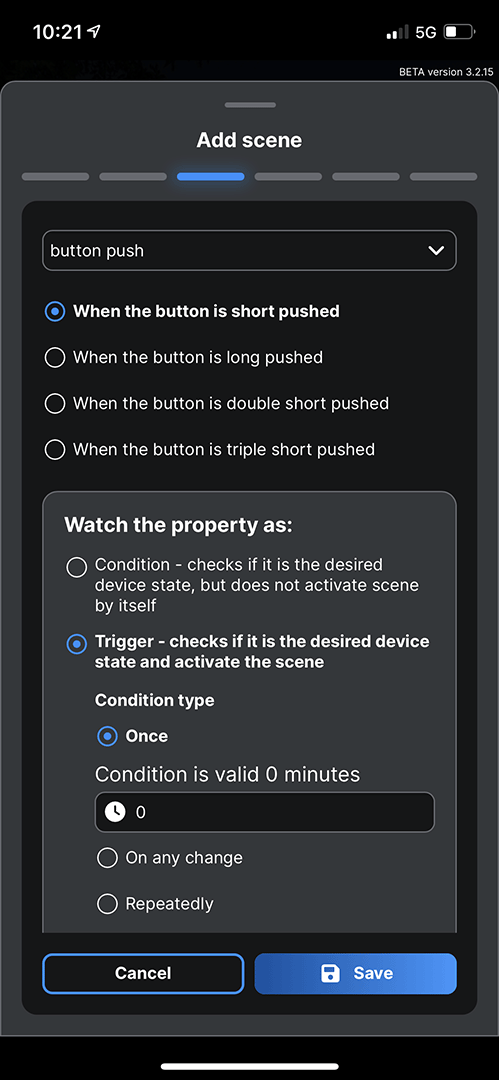
-
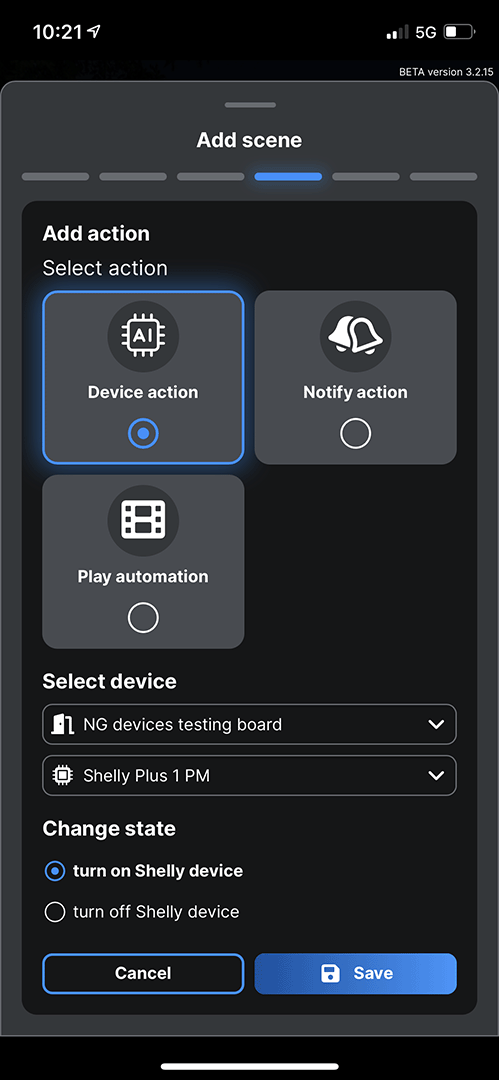
Tap Save and Next, and add an action based on your preferences. If you choose a Device action scene, the button will turn a specific device on or off. If you choose Notify action, the button will send a notification to your preferred device. If you choose Play automation, the button will activate an existing scene.